
How Are My Vinyl Graphics Made?
posted 23rd July 2025
From Concept to Application: Inside the Process Behind Your Graphics
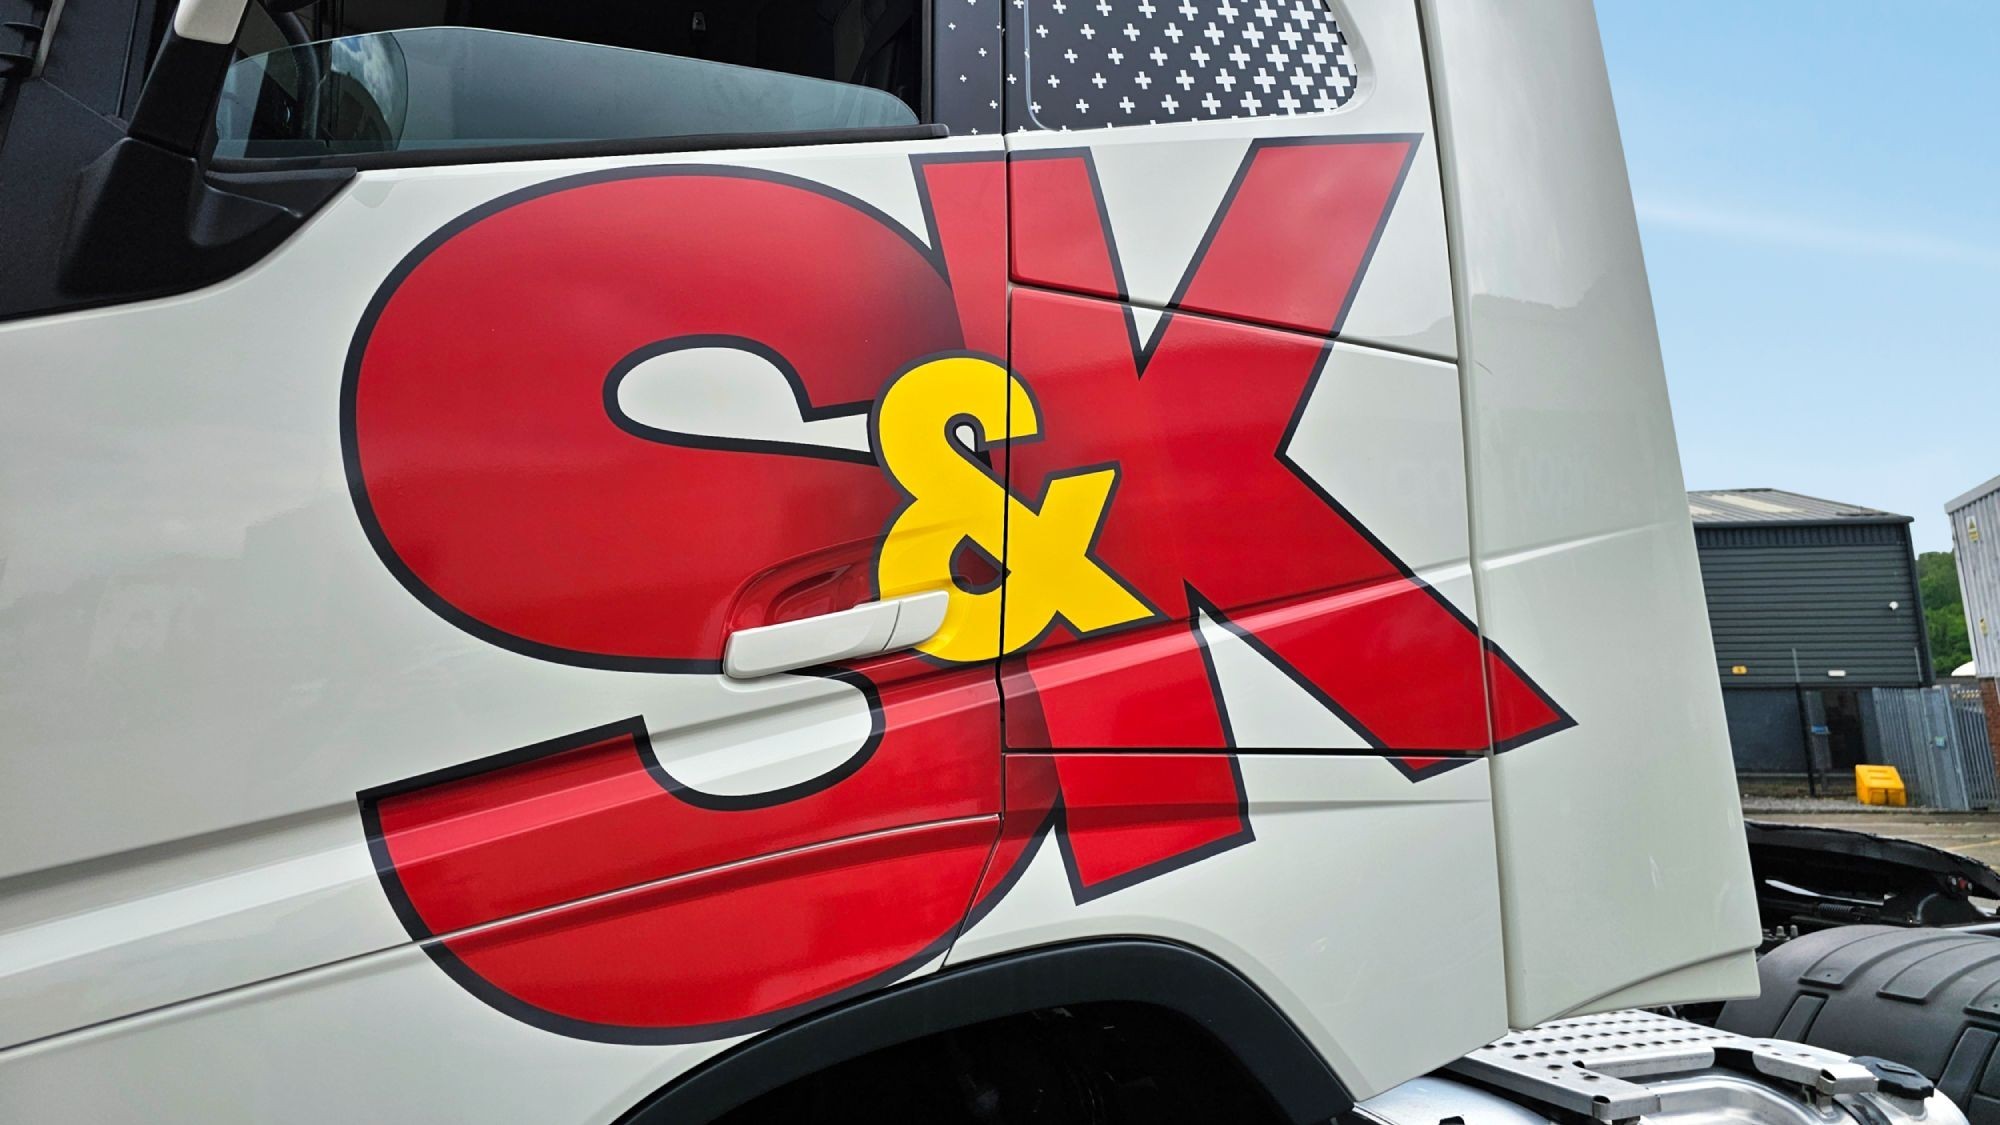
Ever wondered how your vinyl graphics go from an idea in your head to vibrant, high-impact branding on your vehicle? Whether it’s for your fleet vans, plant machinery, or motorsport livery, there’s a detailed, professional process behind every piece of vinyl we create.
At Popin Graphics, we don’t just print stickers. We design, engineer, and install high-performance graphics that work as hard as you do.
Below we'll provide a full behind-the-scenes tour of how your vinyl graphics are made - from the first sketch to the final squeegee stroke.
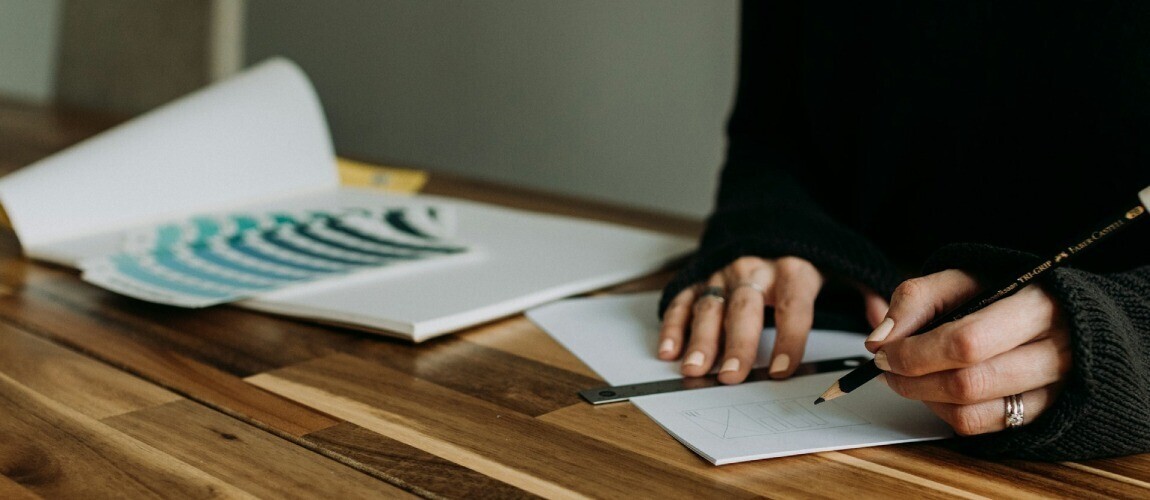
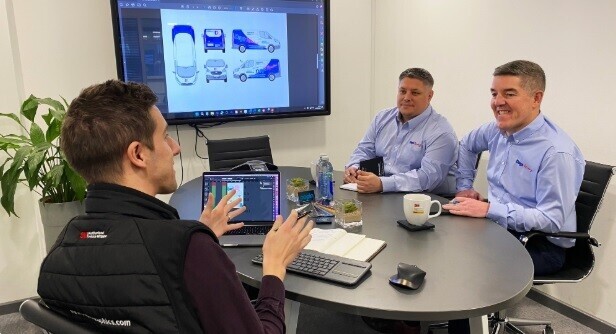
Initial Brief and Concept Development
The process begins with a conversation. Whether you’re after Chapter 8 chevrons, reflective branding, or full-colour race decals, we begin by understanding:
- What’s the purpose of the graphic?
- What type of vehicle or surface is it going on?
- How long does it need to last?
- Are there any legal or branding compliance requirements?
This stage sets the foundation for everything that follows.
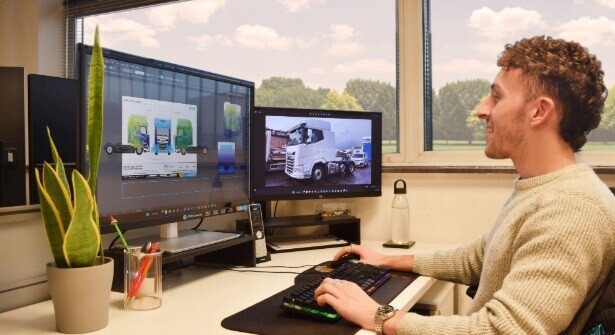
Design and Visual Proofing
Once your goals are clear, our designers begin creating high-resolution vector artwork that works in real-world dimensions. We use professional software like Adobe Illustrator to prepare artwork that’s scalable, colour-accurate, and tailored to the curves and panels of your vehicle.
We then send you a visual proof (or welcome you to view in our headquarters) - a to-scale mock-up of how your graphics will appear on your specific make and model of vehicle.
Template Matching and Measurements
Getting the perfect fit starts before we even touch the vinyl.
Our vehicle graphic design virtuosos use a combination of high-resolution vehicle templates and on-site physical measurements to ensure that every panel, contour, badge, recess, and curve is accounted for before we go to print.
We start with professional vehicle template libraries - accurate digital blueprints of your van, lorry, car, or fleet model. But even the best templates can’t always account for factory variations, aftermarket parts, or minor bodywork differences.
That’s why we back our digital prep with real-world measuring and photographing on your specific vehicle.
We check critical areas like:
- Door handles, sliding panels, and trim edges
- Curved surfaces and deep recesses
- Wheel arches, bumpers, and rooflines
- Any existing damage, rust, or non-standard features
This combined approach ensures that your vinyl graphics align perfectly on the vehicle, avoid unwanted distortions, and don't require excess trimming or last-minute reprints - saving time, money, and materials.
By investing in this detailed pre-install process, we make sure your wrap fits like a glove, both aesthetically and structurally.
Material Selection: Cast vs Calendared Vinyl
Choosing the right material is a science in itself.
Depending on the project, we might use:
Cast Vinyl
Calendared Vinyl
Premium quality & long lifespan
Lower cost, shorter lifespan
Conforms to curves and contours
Best for flat or slightly curved surfaces
Ideal for full wraps and complex installs
Perfect for cut graphics or partial use
Thinner, more flexible material
Thicker and more rigid
UV & weather resistant up to 10 years
Lasts around 3–5 years
Higher initial investment
Cost-effective for short-term projects
Each vinyl type has its unique adhesive and performance properties. We always use premium brands like 3M.
Learn More: Cast Vinyl Vs Calendered Vinyl
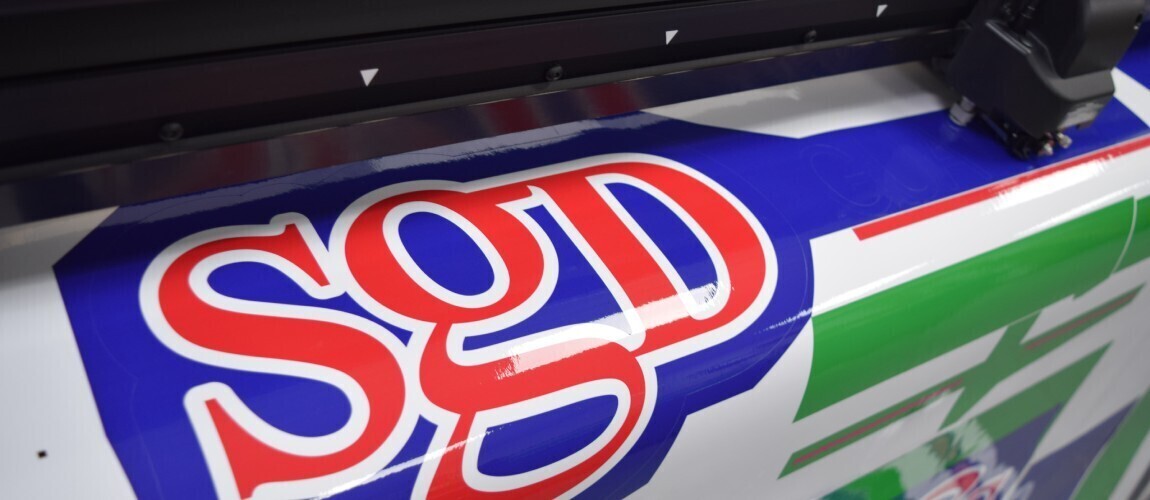
Colour Matching and Print Setup
When you're wrapping a vehicle for business, colour accuracy is crucial - especially if you're working with recognised brand colours such as Pantone, RAL, or custom corporate shades.
At Popin Graphics, we don’t guess. We run precise test swatches, calibrate our printers, and adjust our RIP software settings to match your brand’s colour codes as closely as possible. This ensures total consistency across fleet vehicles, trailers, and even replacement panels months down the line.
Our colour management process includes:
- Pre-press test printing to compare digital values with real-world vinyl output
- Spectrophotometer checks (where applicable) for high-precision readings
- Fine-tuning of ICC profiles to ensure your colours display accurately on the specific wrap vinyl being used
- Careful consideration of finish - matt, gloss, or satin laminates can each influence the perceived colour
- Accounting for environmental factors like lighting, surface shape, and contour shadows
Whether you’re wrapping one van or fifty, our print setup workflow ensures your branding looks unified, sharp, and professional - every single time.
Printing Process
Using wide-format printers, we print your design onto your chosen vinyl using professional-grade inks that are vibrant and UV-resistant.
Key printer features include:
- High DPI for photo-quality clarity
- Fast drying for efficient production
- Eco-solvent or latex inks for exterior durability
Laminating for Protection
Once printed, the vinyl is laminated with a clear film to protect it from:
- UV rays
- Scratches and scuffs
- Harsh weather
- Fuel and chemical splashes
There are gloss, satin, and matte laminates available - and we’ll recommend the best option for your usage.
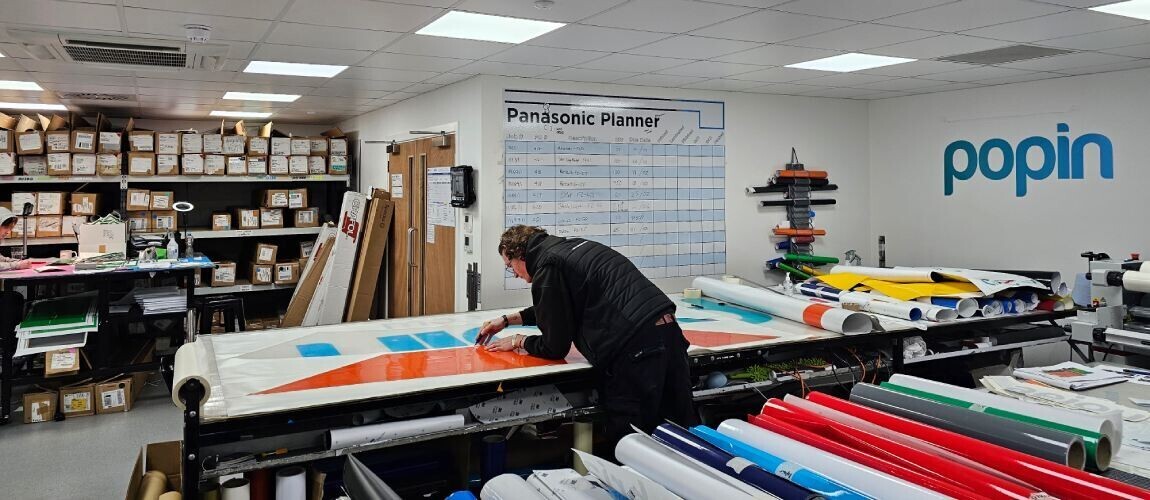
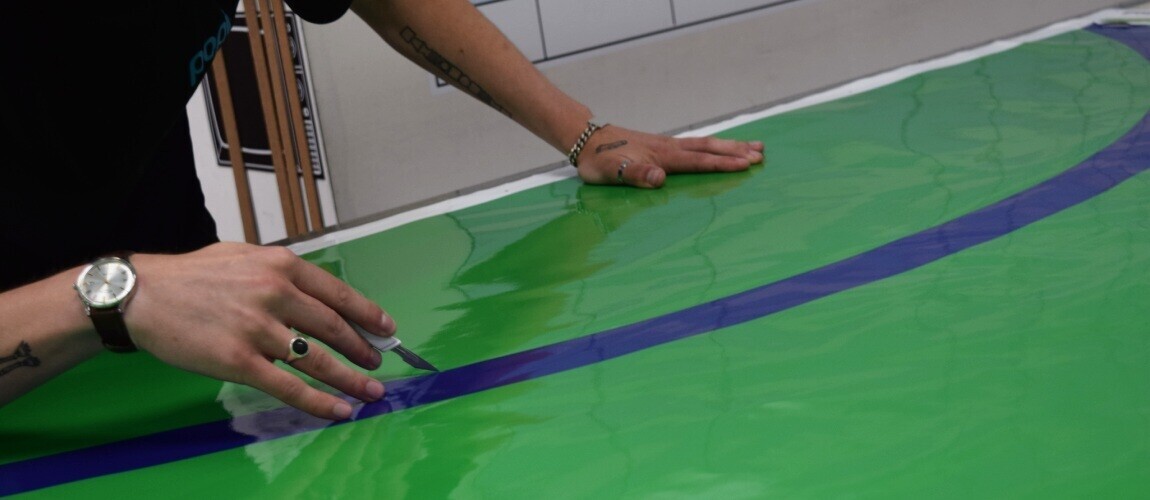
Precision Cutting and Weeding
Now it’s time to cut your design. We use plotter cutters or precision flatbeds for this.
Depending on the complexity:
- Contour cutsfollow your design exactly
- Die cuts are used for decal packs or shape-based graphics
- Weeding removes the excess vinyl from around your letters or logos
This is one of the most skilled parts of the process.
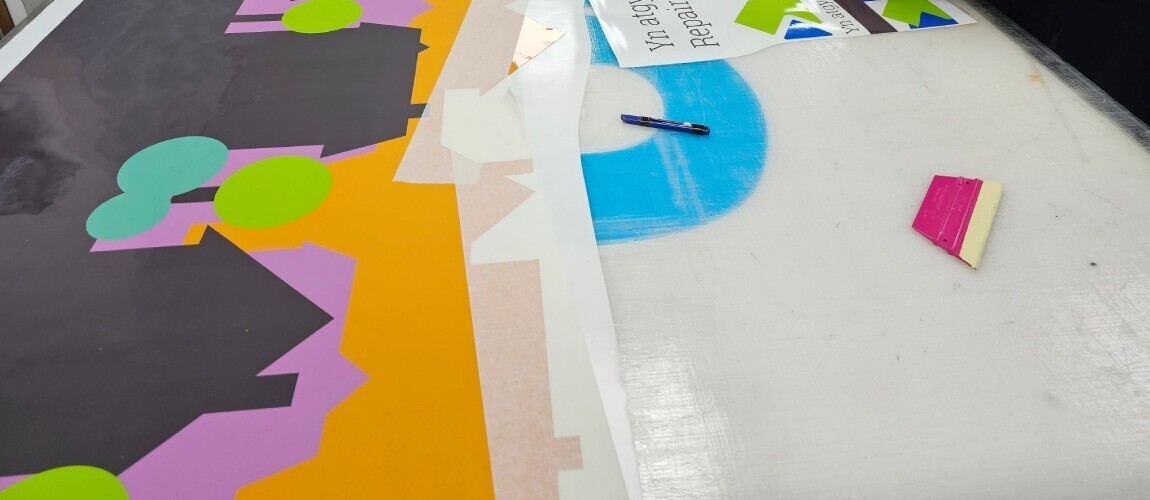
Application Tape and Pre-Masking
Once your vinyl graphics are printed and cut, the next step is pre-masking - a vital process that prepares complex or multi-part designs for flawless installation.
We apply a layer of application tape (also called transfer tape) over the surface of the vinyl. This semi-transparent film holds individual elements - like text, shapes, or layered graphics - in precise position. It ensures everything stays aligned exactly as designed, from the plotter to the panel.
This makes it easy to:
- Transfer intricate designs in one seamless movement
- Maintain spacing and layout accuracy for multi-part graphics
- Prevent stretching or distortion during handling
- Speed up installation on-site or in-house
- Reduce the risk of air bubbles or creases
Pre-masking is especially important for logos, lettering, and detailed elements where millimetre-perfect placement matters.
At Popin Graphics, we use high-tack or medium-tack application tapes depending on the type of vinyl and the surface it’s being applied to - ensuring a clean, efficient install every time.
Quality Control Checks
Every order goes through our multi-point QC checklist:
- Print colour accuracy and clarity
- Clean cut lines and weeded edges
- Correct labelling and panel orientation
- Damage-free laminate and adhesives
We don’t dispatch or install anything unless it meets our internal standards - because we know you’ll be judging us by the final product.
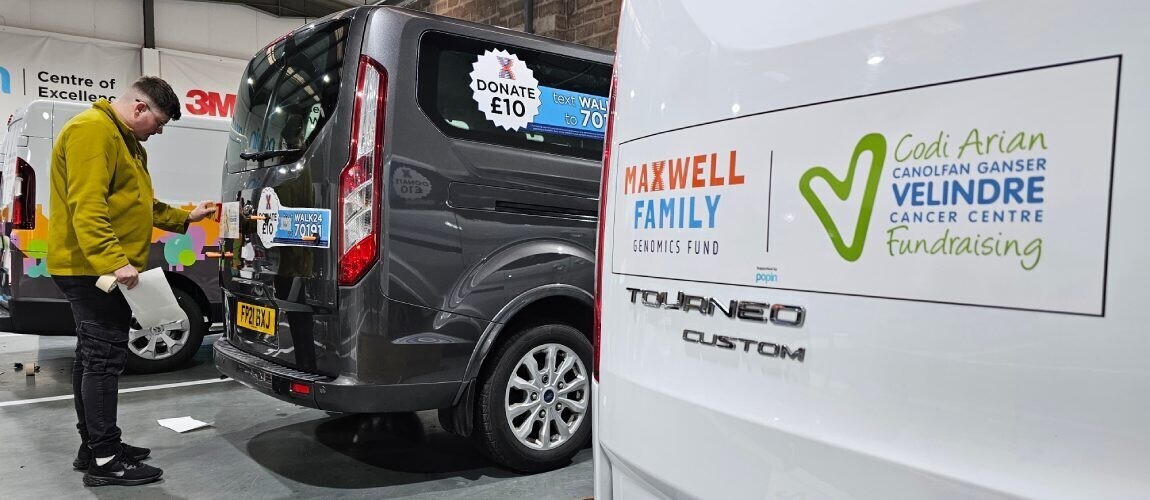
Final Prep and Installation Scheduling
Depending on your location and project size, we’ll either:
- Ship graphics to you with install instructions
- Book you in at our workshop in Cardiff, South Wales
- Arrange for on-site installation with our certified technicians
We’ll also guide you through surface prep, vinyl graphics and wraps aftercare, and vinyl graphic cleaning recommendations.
Your Graphics Are Engineered to Perform
Your vinyl graphics aren’t just printed - they’re engineered from the ground up to look sharp, last long, and work hard. Whether it's a legal requirement, a branding upgrade, or a full-wrap transformation, each stage of production is handled with care by specialists who understand what it takes to make your graphics perform in the real world.
If you're ready to elevate your brand or improve your visibility, get in touch with Popin Graphics today for a bespoke quote and consultation.